I wanted this first cloud example to stay as simple as possible: deploy a model in Azure AI Foundry, call it from a small C# console app, and print the result.
That is all this sample does, and that is why it works well as a first checkpoint. There is no web UI, no chat history, and no extra layering yet. Just a Foundry project, a gpt-5-nano deployment, and a tiny C# console app that proves the cloud call works end to end.
Prerequisites
- an Azure account with access to
https://ai.azure.com - .NET 10 SDK installed locally
- permission to create a Foundry project and deploy a model in your chosen region
Create the project in Azure AI Foundry
Start at https://ai.azure.com and open the project picker.
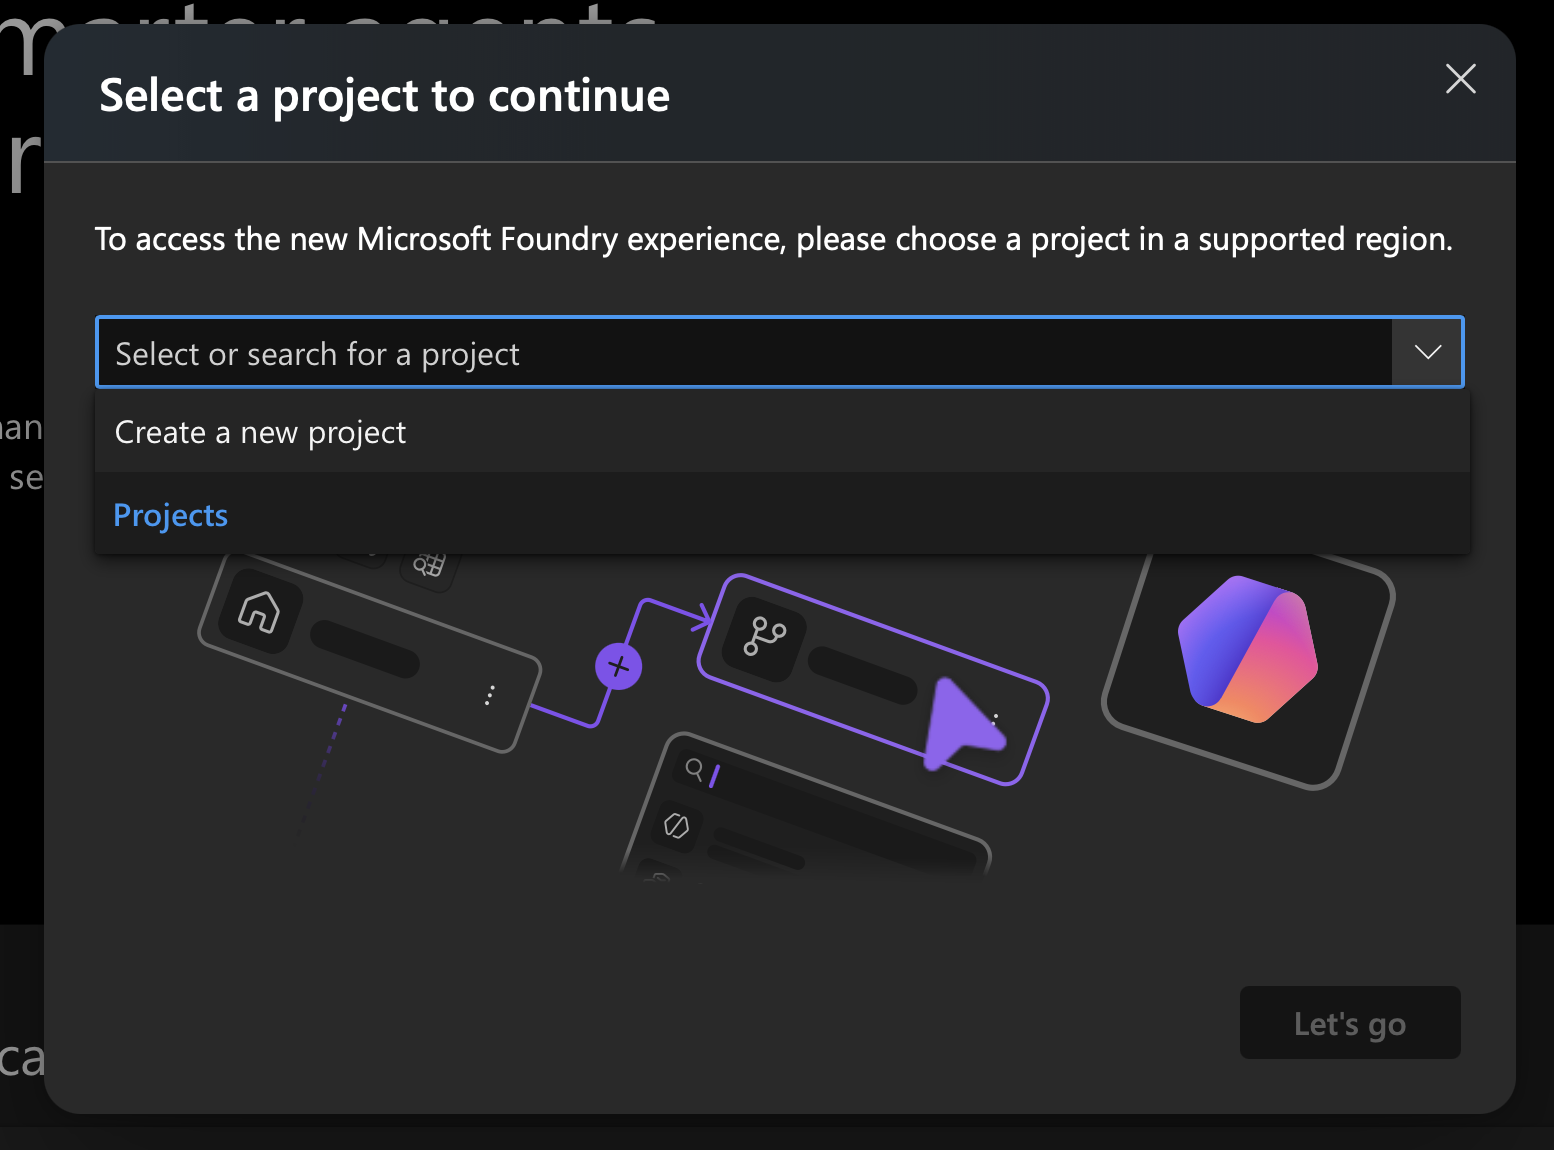
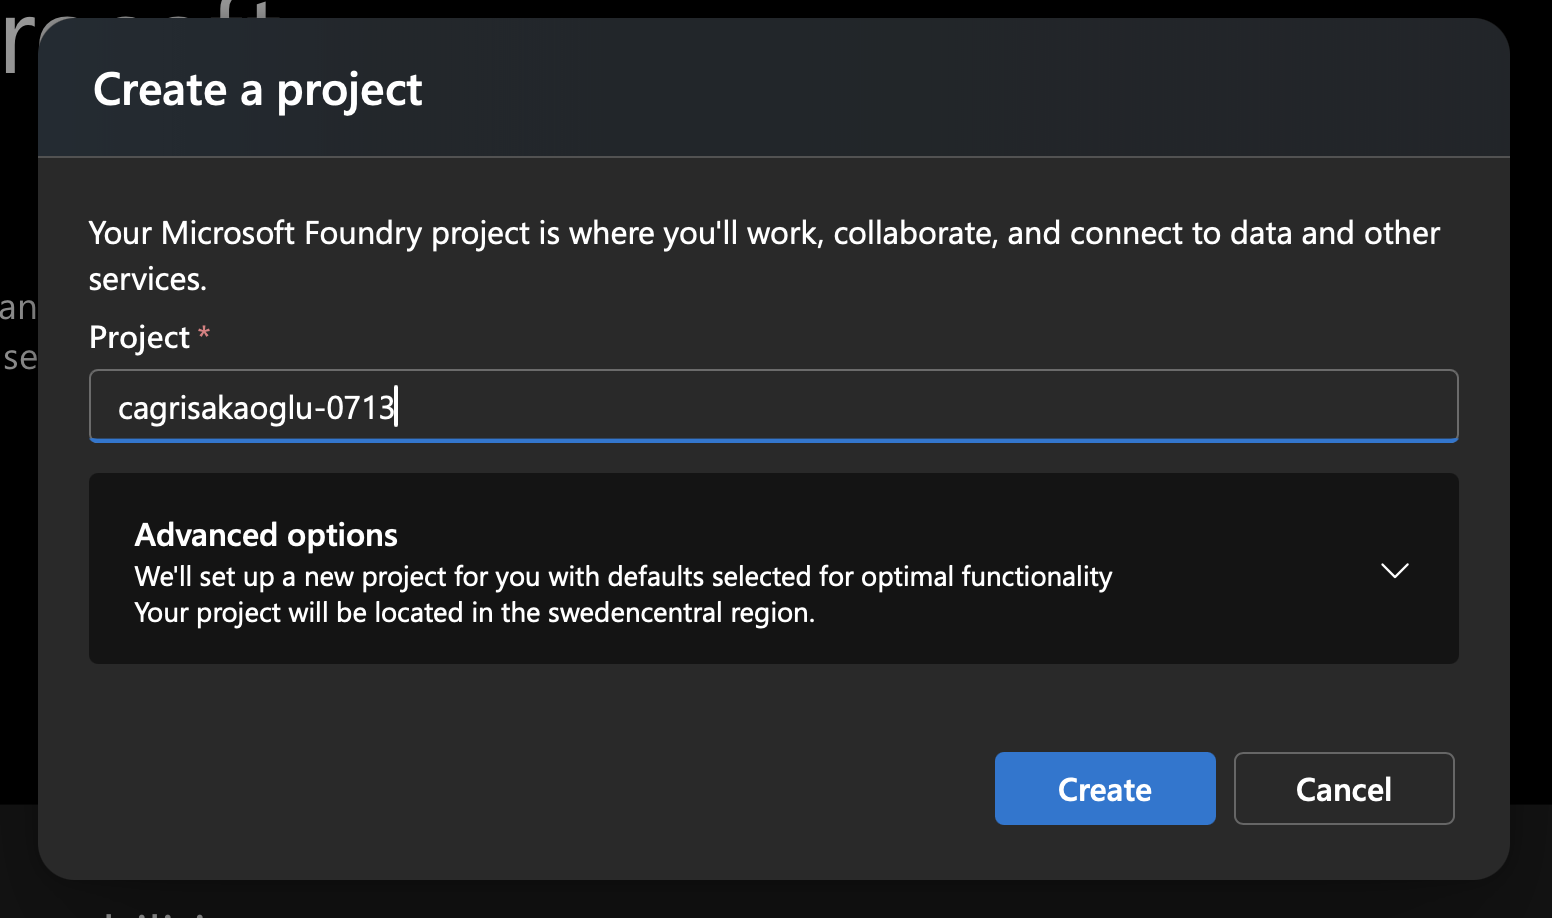
Choose Create new project, enter a name, and continue. In my case, I used cagrisakaoglu-0713. Foundry then created the project in swedencentral.
Provisioning takes a few minutes, so do not worry if you sit on this screen for a bit.
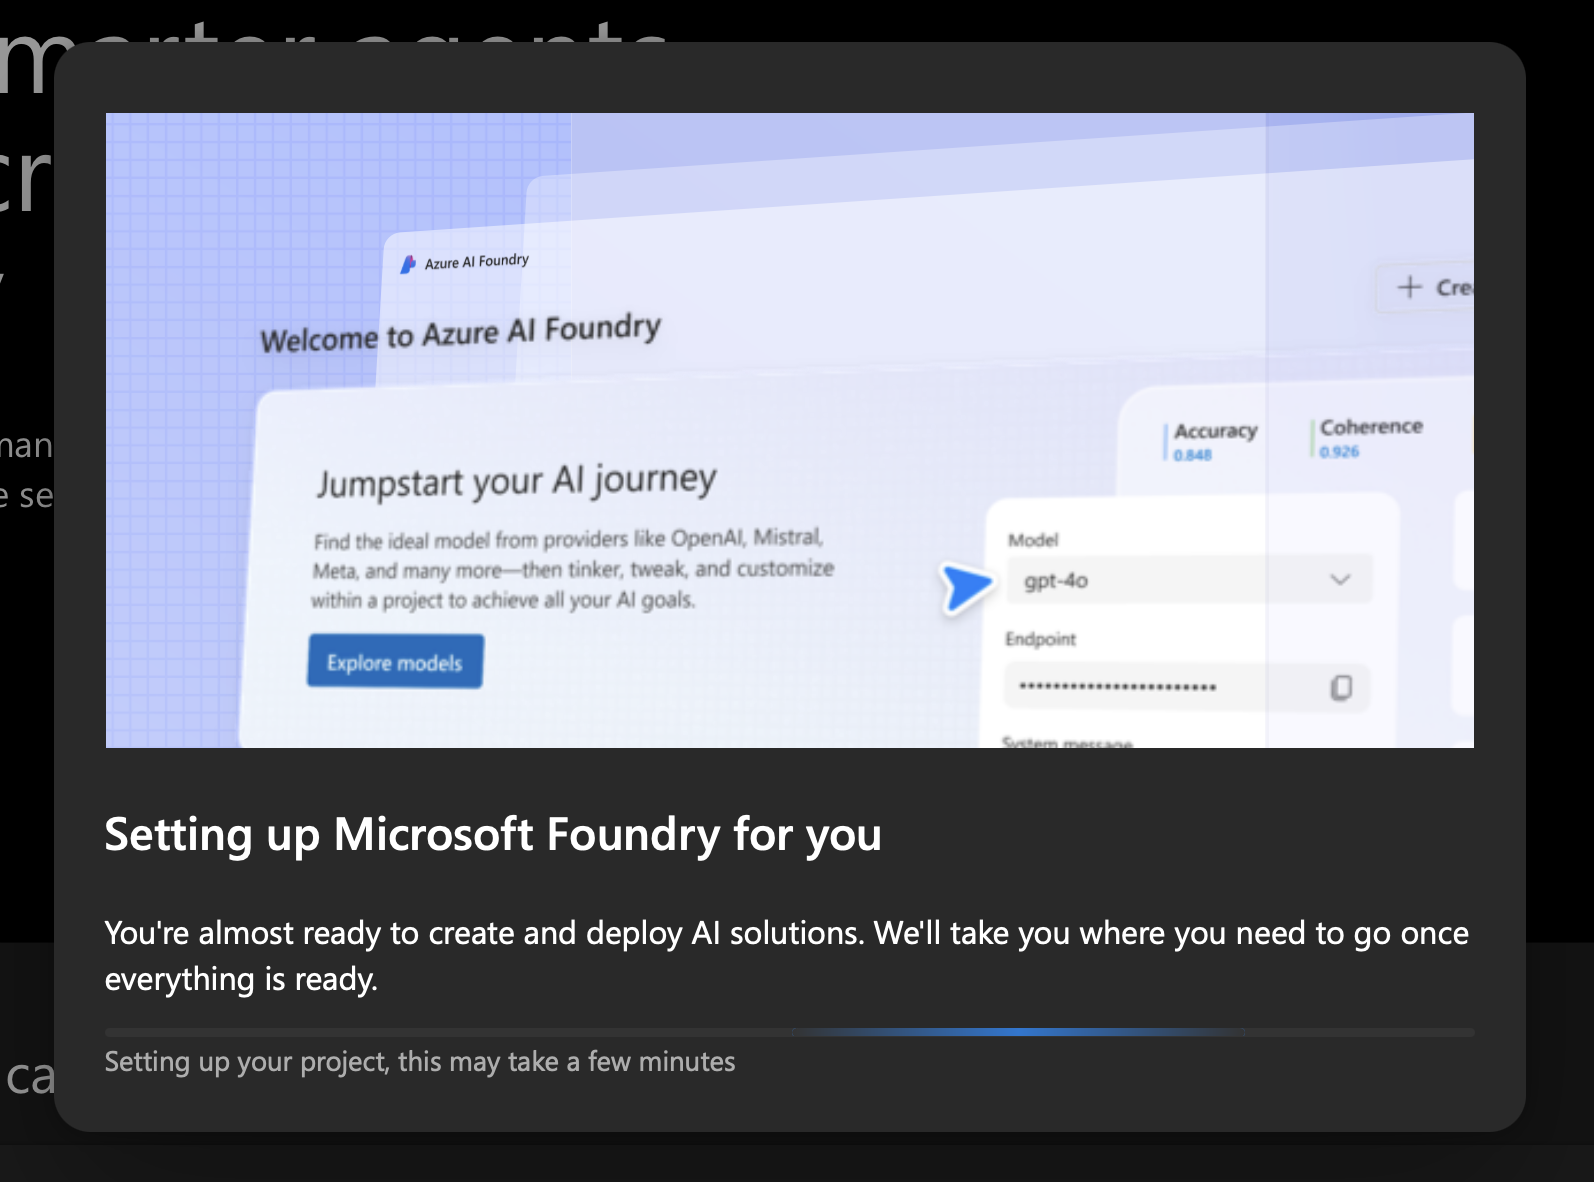
Once that finishes, you have the shell of the cloud environment ready.
Deploy gpt-5-nano
From the project home, click Find models and search for gpt-5.
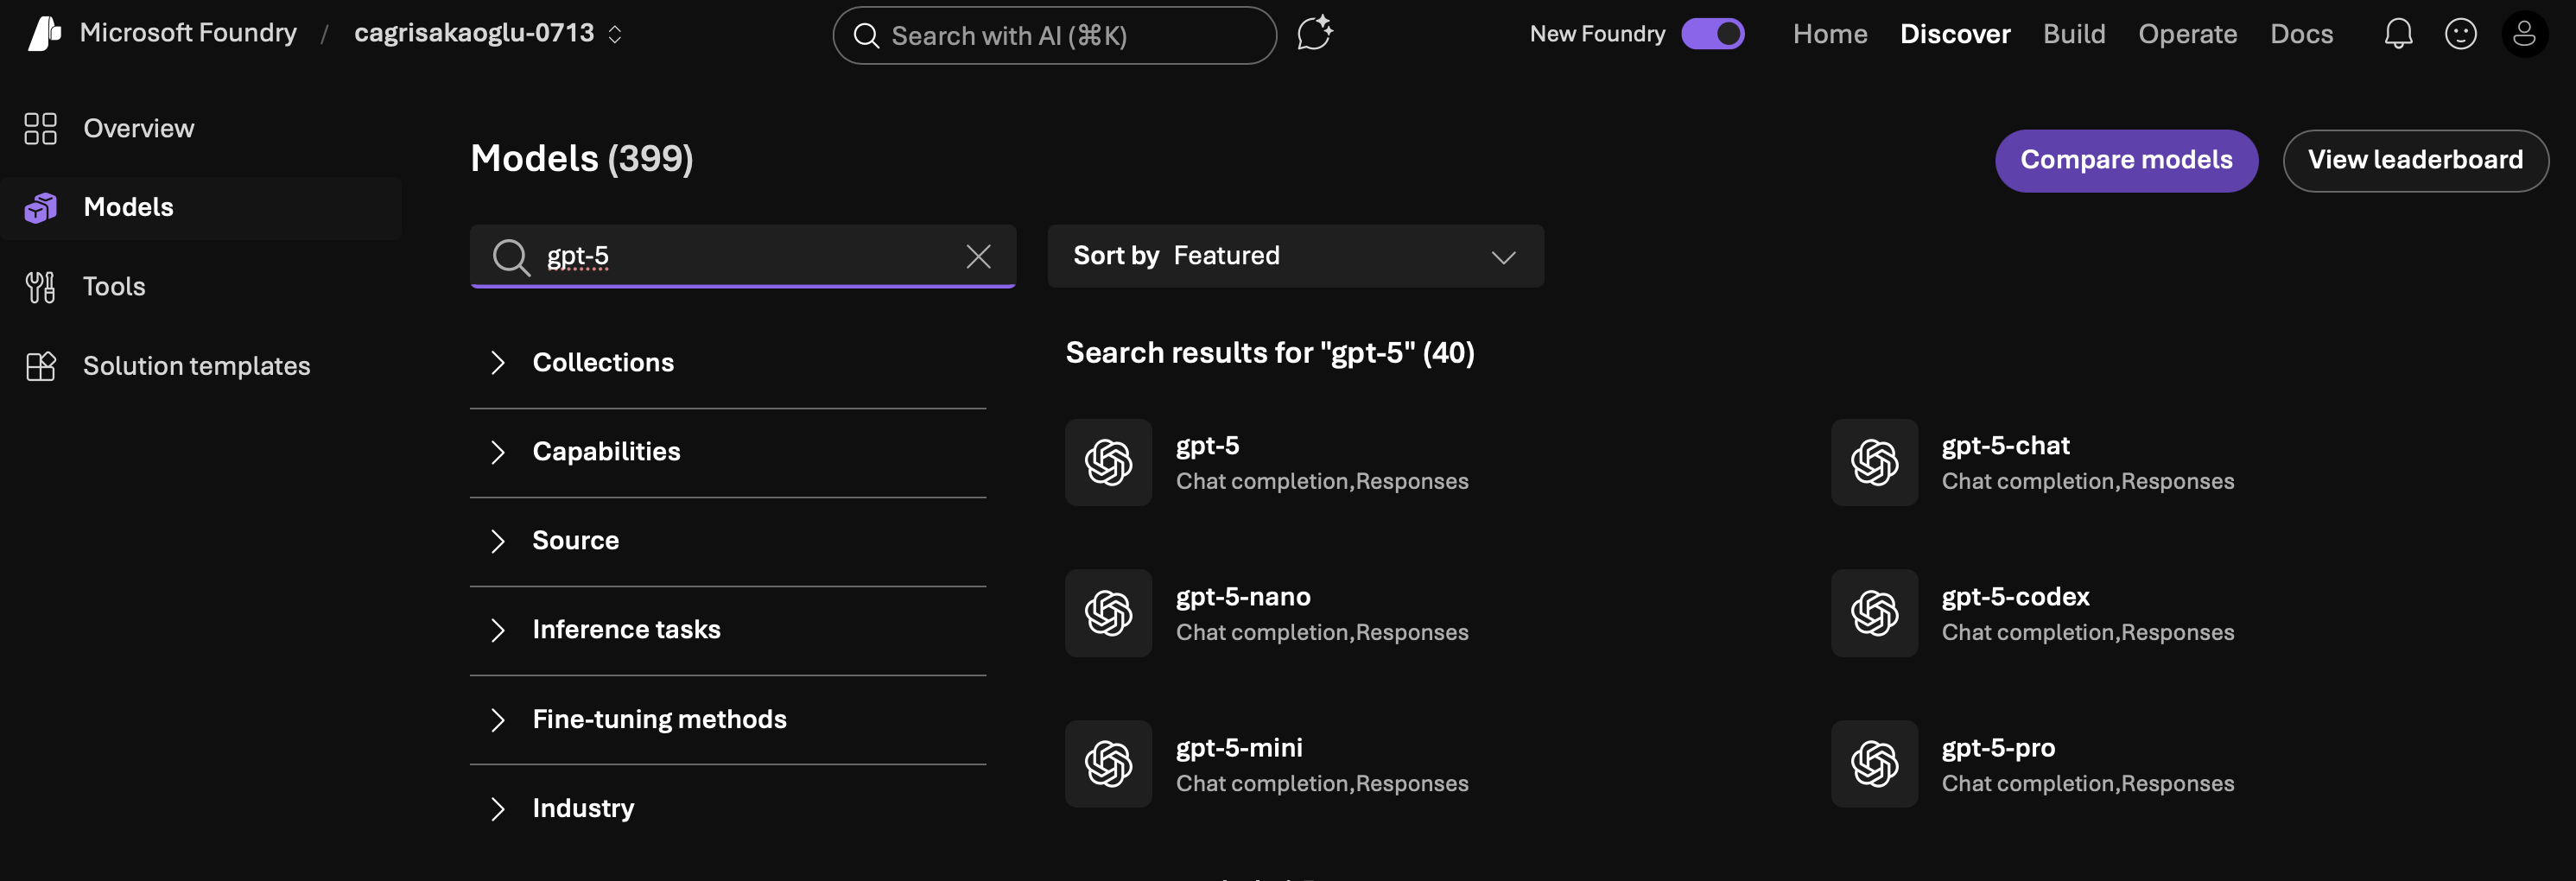
Pick gpt-5-nano, then continue to the deployment flow.
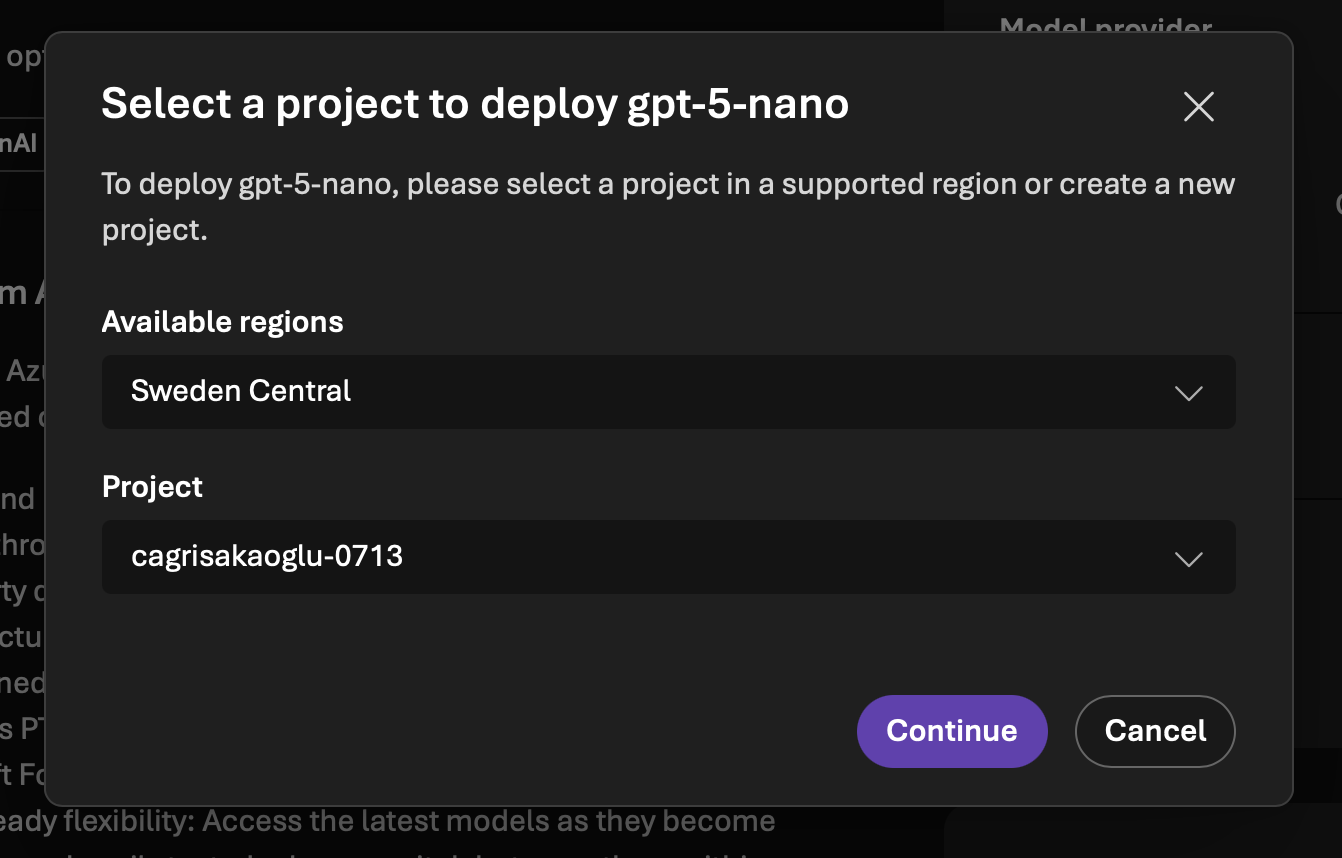
Confirm the deployment and wait for Foundry to finish provisioning the model.
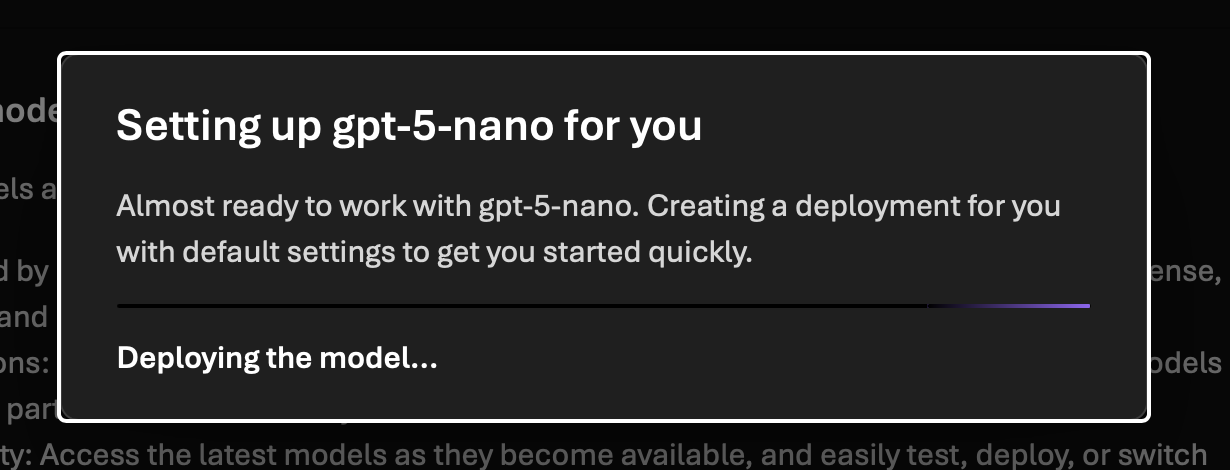
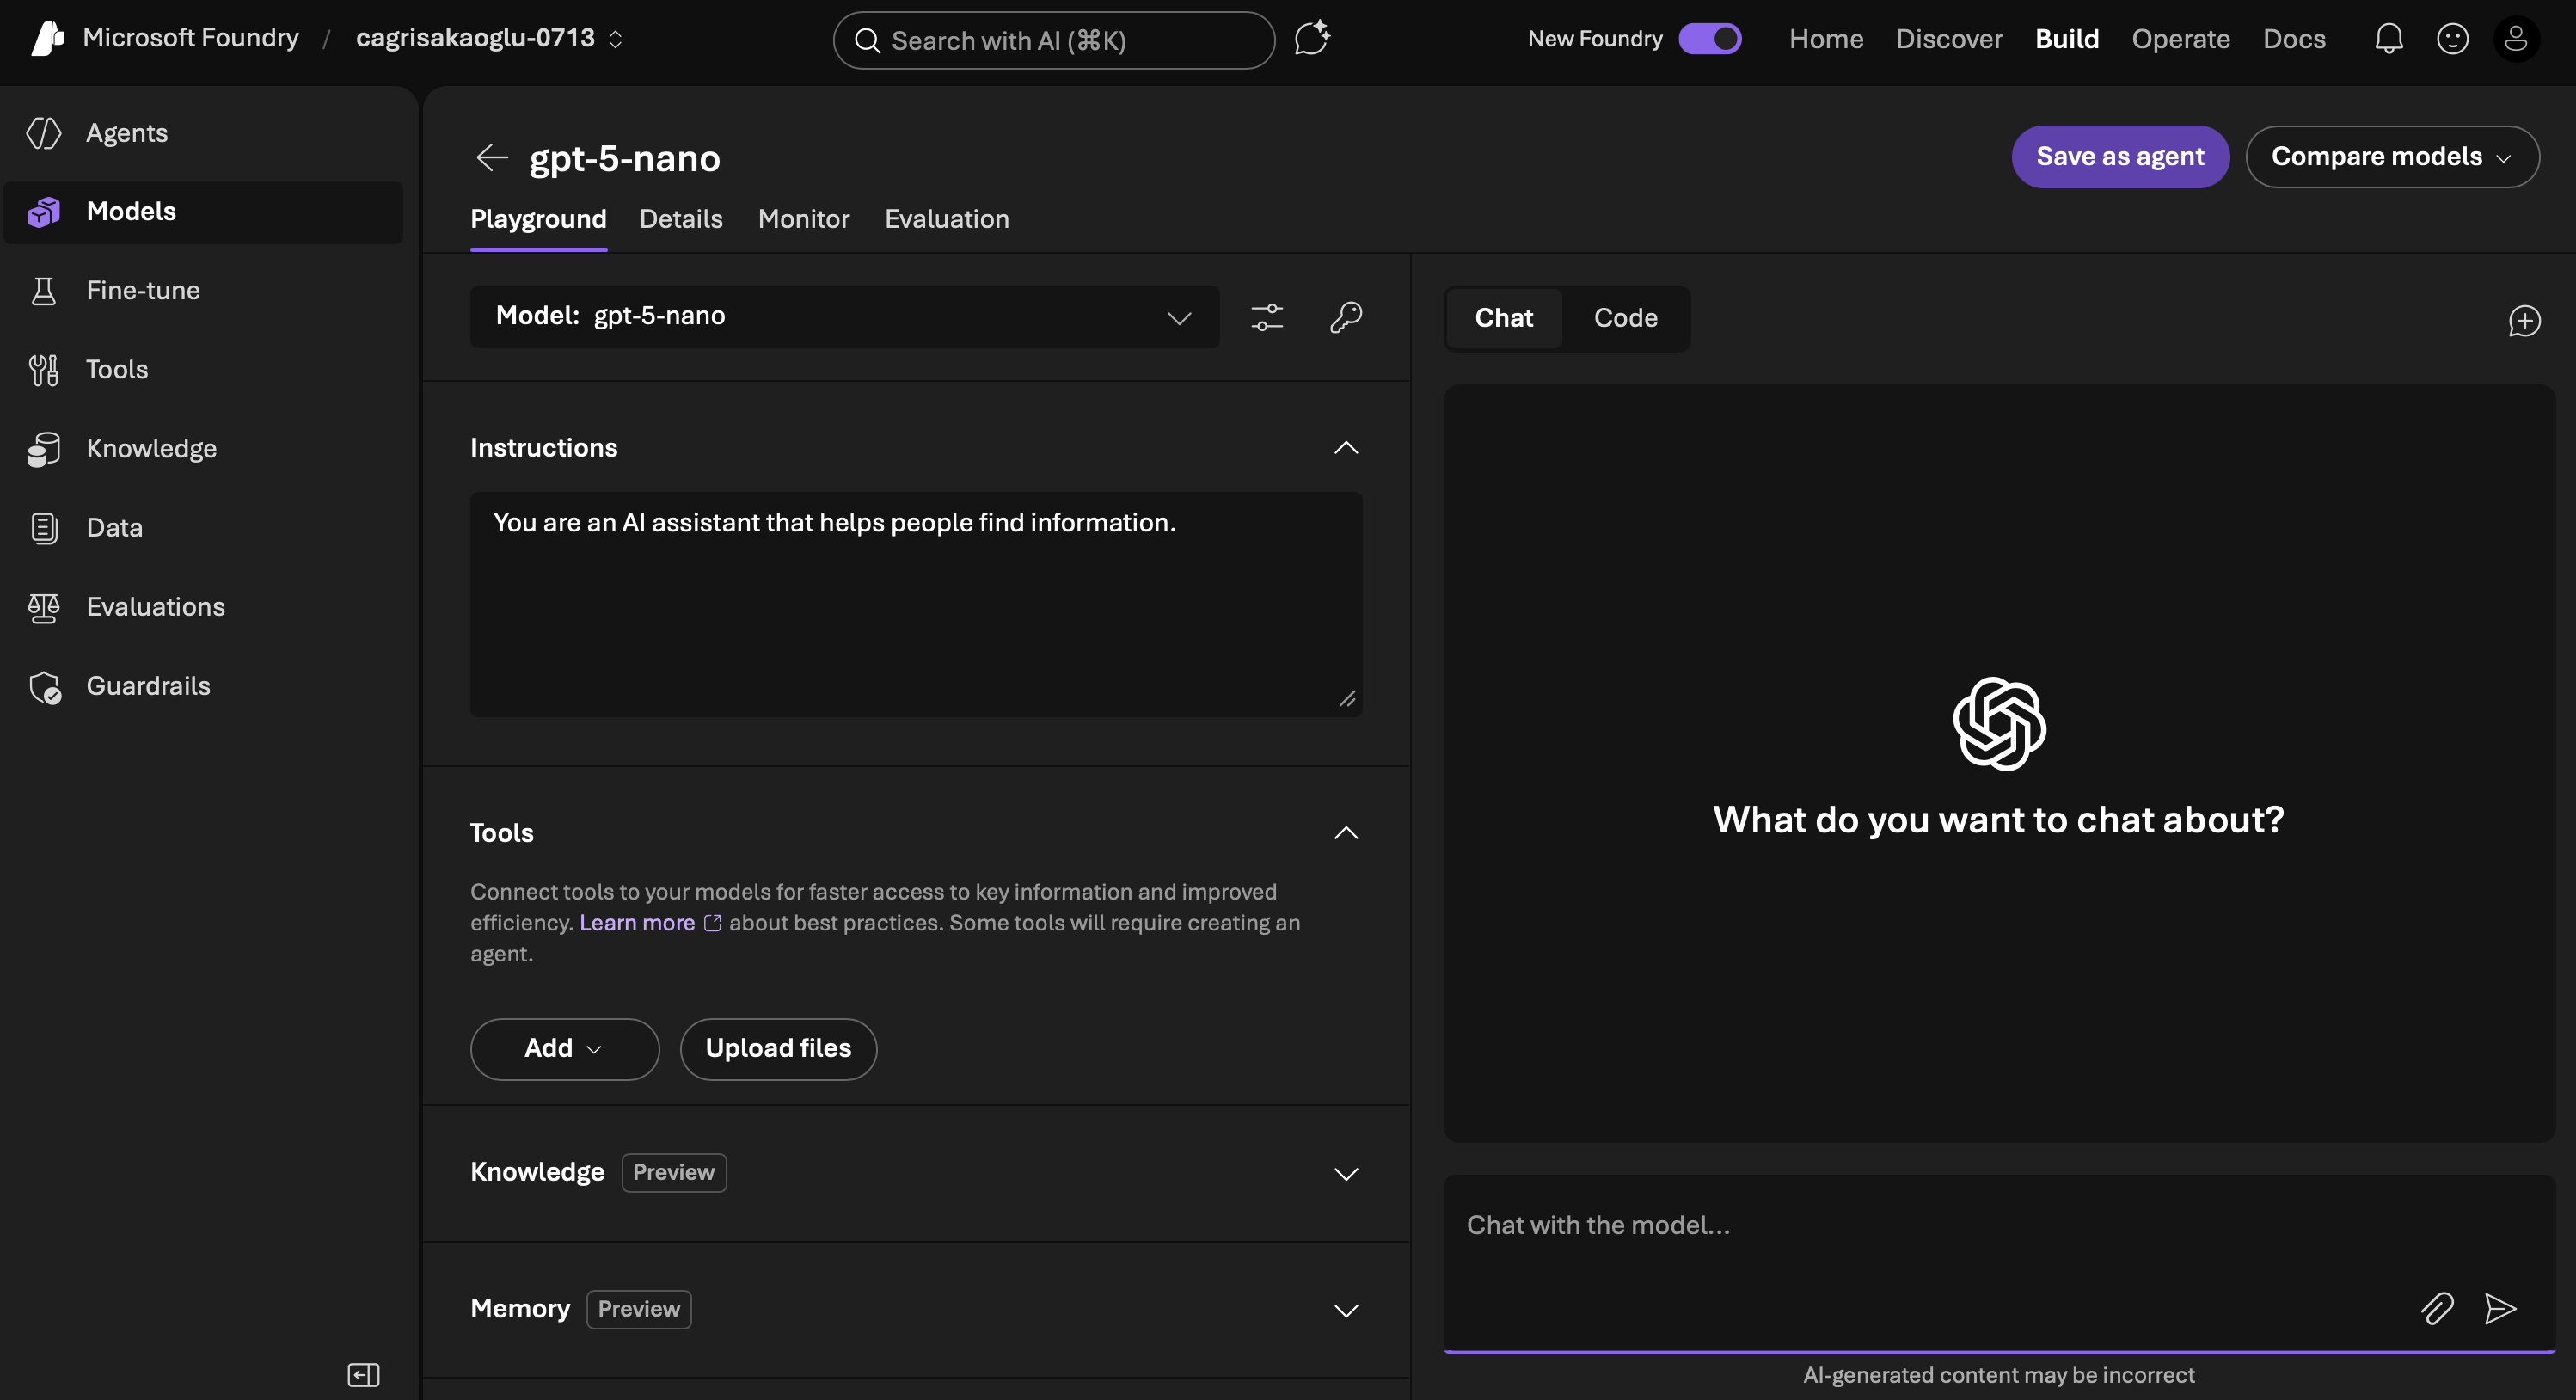
After that, the model shows up in the playground and is ready to call.
You can also open the model details view to find the project details, the target URI, and the key you will use from your console app.
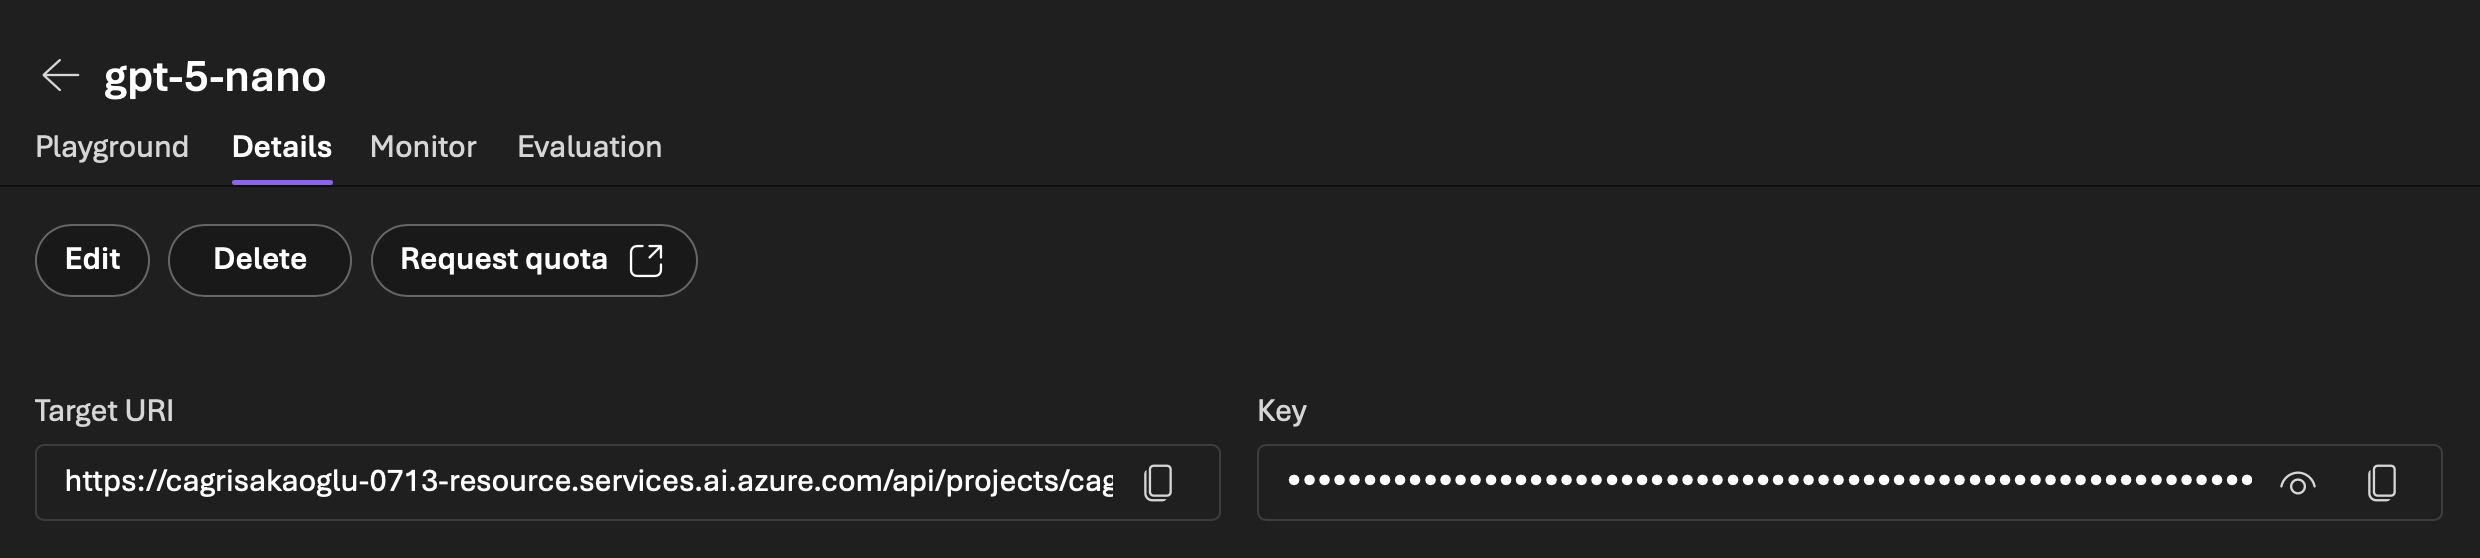
At this point, you should know where the endpoint, apiKey, and model values come from.
Create the .NET console app
Once the model is deployed, create a plain console app and add the OpenAI package used by this sample.
dotnet new console -n FirstCloudLlmApp
cd FirstCloudLlmApp
dotnet add package OpenAI
That gives you the same kind of minimal starting point as the sample project: one console app, one package, and one file to edit.
Add the code to your console app
There is only one real code file in this project, which is exactly what makes it useful as a first cloud example.
The app uses the OpenAI client package. Add the following code to Program.cs, then replace the placeholder endpoint and API key with the values from your Foundry project. Keep the model value as gpt-5-nano if that is the model you deployed.
using OpenAI;
using OpenAI.Chat;
using System.ClientModel;

// Replace the following values with your project-specific values or use environment variables
var model = "gpt-5-nano";
var endpoint = "<your-project-endpoint>";
var apiKey = "<your-api-key>";

ChatClient client = new(
	credential: new ApiKeyCredential(apiKey),
	model: model,
	options: new OpenAIClientOptions()
	{
		Endpoint = new($"{endpoint}"),
	});

ChatCompletion completion = client.CompleteChat(
	new ChatMessage[]
	{
		new UserChatMessage("What is the capital of France? Answer it like a neanderthal.")
	});

string reply = string.Concat(completion.Content.Select(p => p.Text));
Console.WriteLine(reply);
The code is intentionally direct. It creates a ChatClient, sends one prompt, and prints the response. That is enough to prove the cloud integration without hiding the important parts.
Run the app
Run the console app:
dotnet run --project FirstCloudLlmApp.csproj
This is what the terminal output looked like in the sample run:
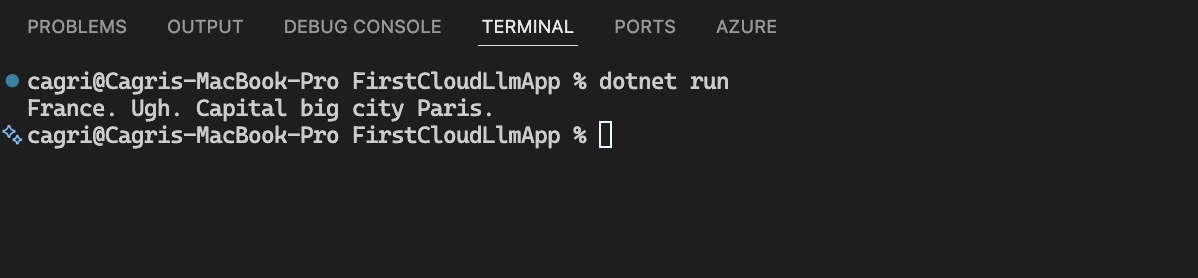
If the endpoint, key, and model value all match, you should now see the model reply in your console.
Common issues
- the endpoint and API key came from different places and do not match the same Foundry project
- the endpoint value is a general project URL instead of the client endpoint intended for model calls
- the
modelvalue in code does not match the model you actually deployed - a screenshot still contains visible credentials and needs to be redacted before publishing
Result
This gives you the simplest useful cloud version of the first local sample. You deploy a model in Azure AI Foundry, call it from a single C# file, and print the answer in the terminal.
That is enough for the first cloud checkpoint. Once that loop is clear, the next steps can be about improving the app instead of guessing whether the deployment and client call work at all.
Clean up when you are done
When you finish testing, go to https://portal.azure.com, open All resources, find the resource group and the Foundry resources created for this sample, and delete them so you do not leave billable resources behind.
In this case, deleting the Foundry resource and the Foundry project from the resource group is the important final cleanup step.
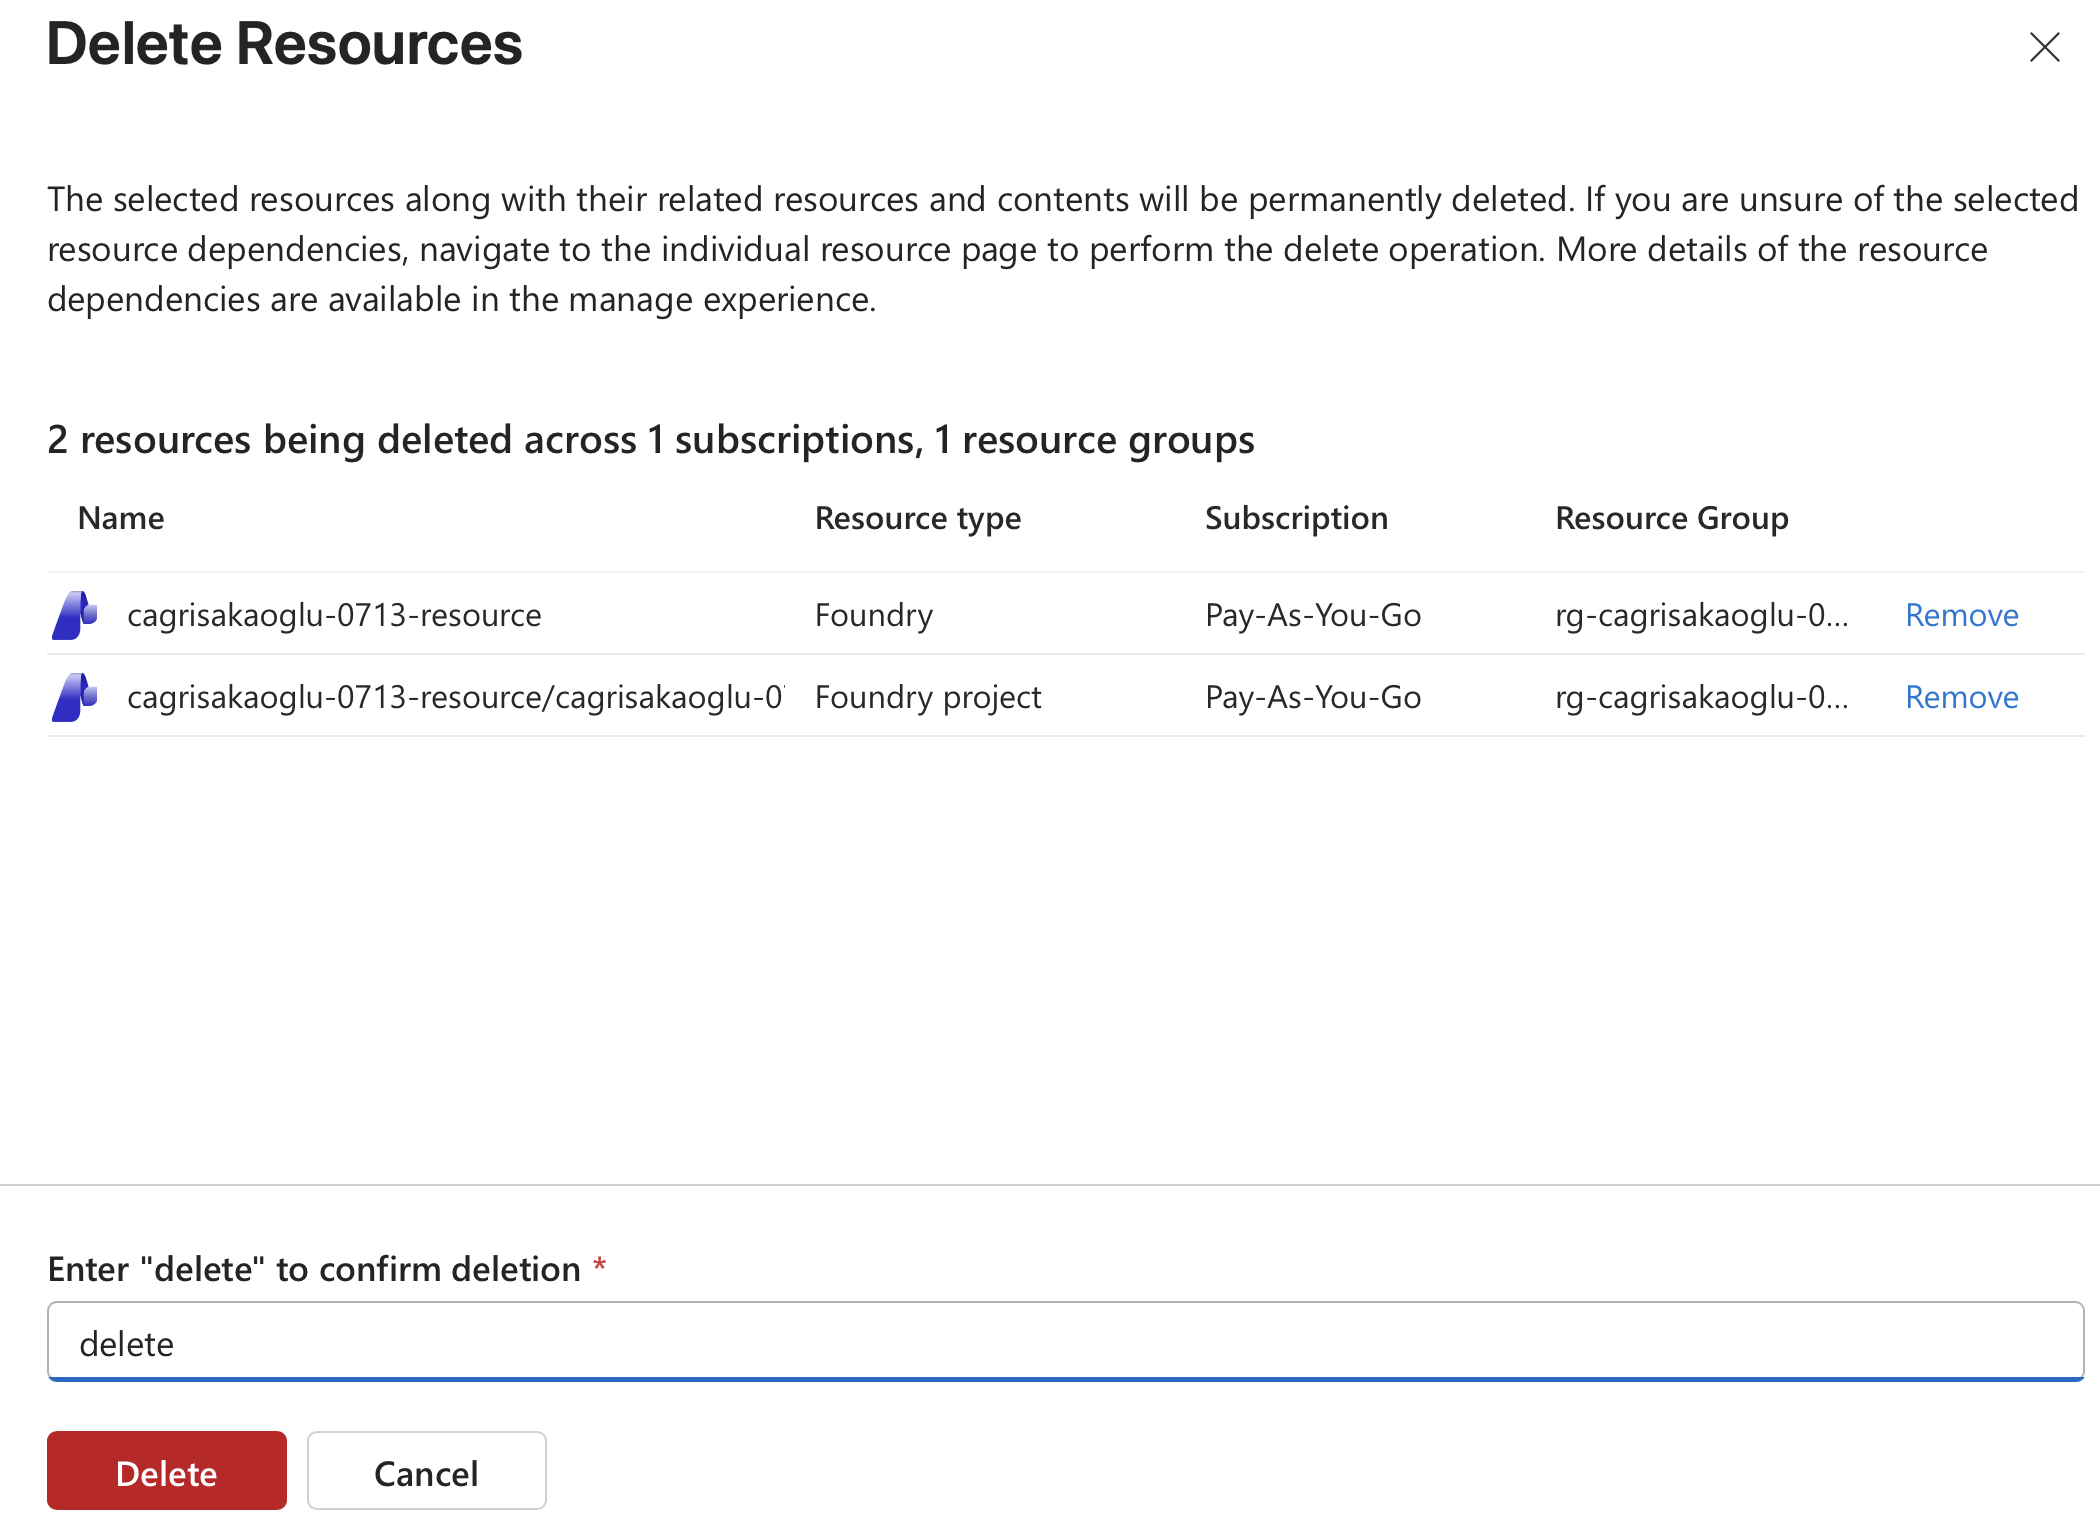
Azure will ask you to confirm the delete operation by typing delete. Once that is complete, the temporary resources for this sample are gone.